

In this guide, we will show you how to set up MetaMask to access the polygon network, interact with DeFi platforms & DAPPS at extremely low gas fees compared to the Ethereum network. MetaMask is a popular wallet to access the Ethereum network since users have become put off by the extremely high Ethereum gas fees, previously we have shown you how to access the Binance Smart Chain using MetaMask.
What is the Polygon Network?
Polygon, formally known as Matic is a protocol and framework designed to connect Ethereum compatible blockchain networks
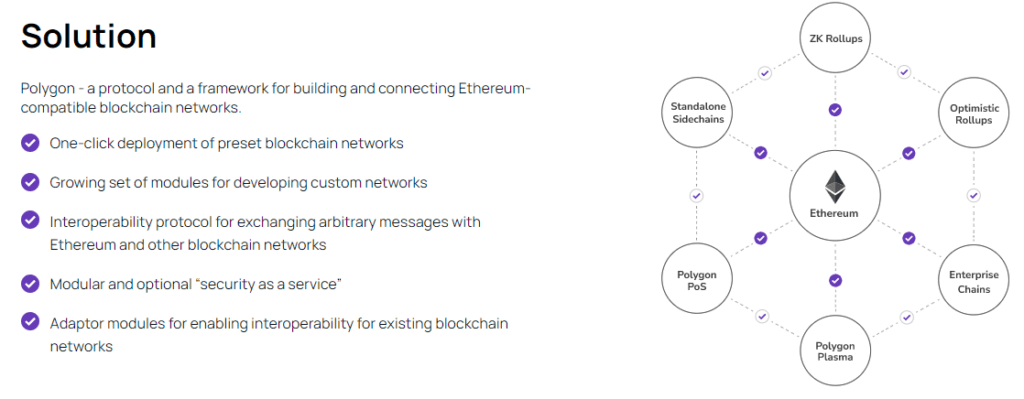
This framework is a scaling solution for Ethereum and has seen adoption by many DeFi platforms like Curve, Aave, and SushiSwap to name a few.
In short, the Polygon protocol aims to improve transaction speed, security, and much lower gas fees at the time of writing this guide, transaction fees are around $0.001 much more attractive than the Ethereum gas fees.
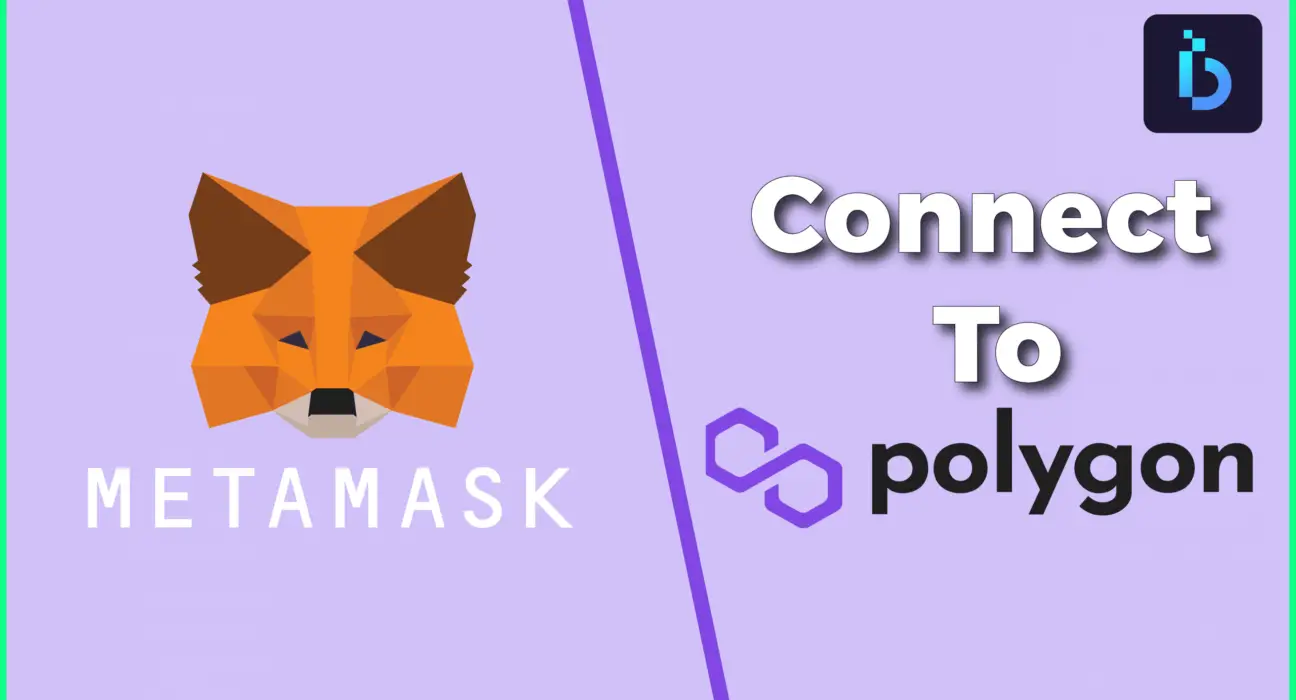
Connecting MetaMask to the Polygon Network
In this section, we will show you how to connect MetaMask to the Polygon Network. Before we go any further please make sure you have kept your private keys or secret phrase safe in case something does go wrong and you are able to restore your wallet.
First, you will need to open your MetaMask wallet and click on the top right circle, and select settings.
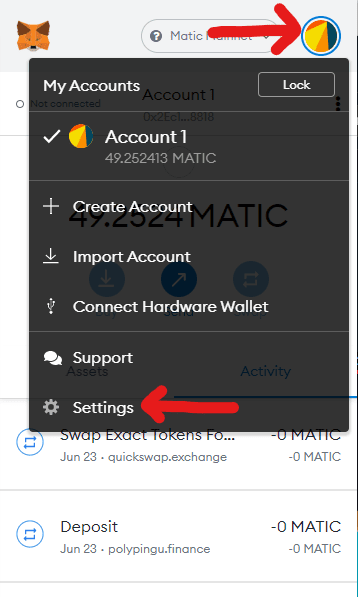
Once you have done this then scroll down to Networks and add network.
Enter the following details
| Network Name: | Polygon Network |
| New RPC URL: | https://rpc-mainnet.maticvigil.com/ |
| Chain ID: | 137 |
| Currency Symbol: | MATIC |
| Currency Symbol: | https://explorer.matic.network/ |
Then click save and you can now access the polygon network.
How to send your Polygon Tokens to your MetaMask wallet
If you hold Polygon (Matic) already on a central exchange such as Binance or Coinbase you will need to send these over to your MetaMask Ethereum wallet. Once you have done this you will then need to use a bridge to get them onto the Polygon network so you can pay for the gas fees similar to how you do this with Ethereum or the Binance smart chain.
Bridge your Tokens
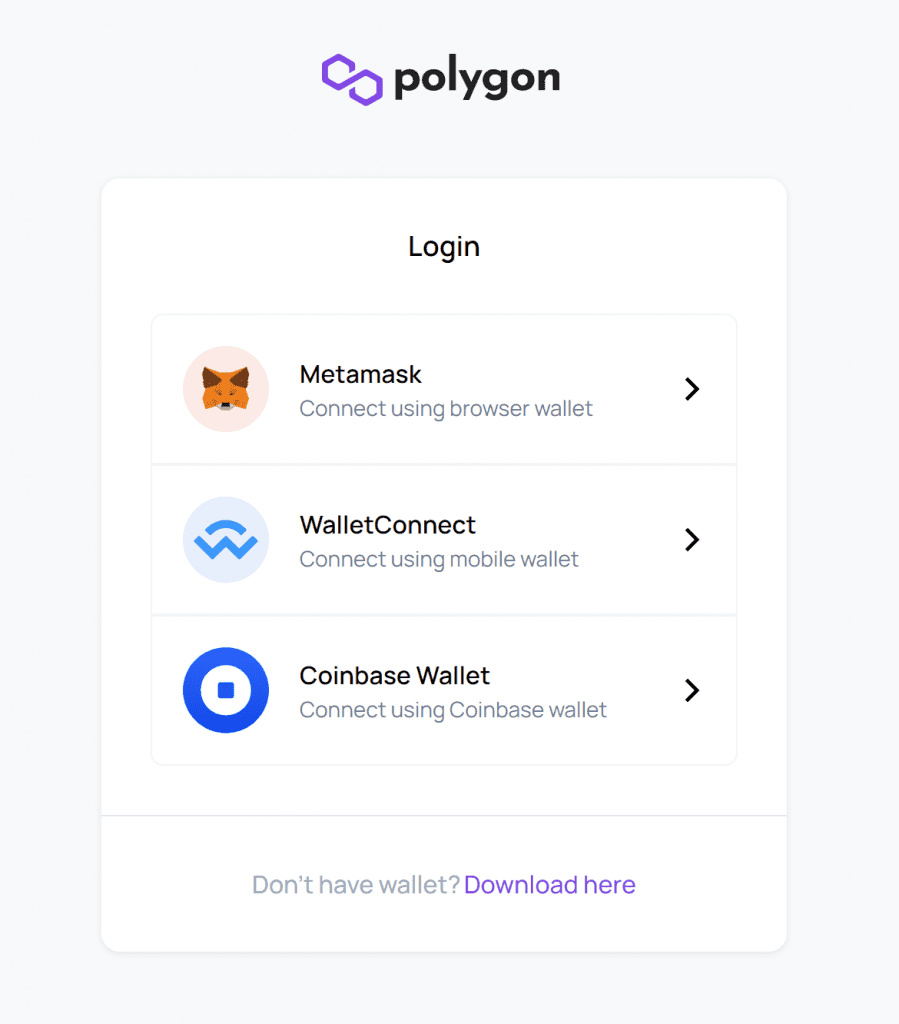
You will need to visit Polygon Bridge V2, where you will select your wallet, in this case, we want to choose MetaMask, ensure you are on the Ethereum Mainnet, and sign the transaction.
Once you have signed the transaction, you will be taken to a screen that looks like the one below. You will need to select Matic and enter the amount, here you will be swapping your Matic tokens from the ERC20 to the Polygon Network.
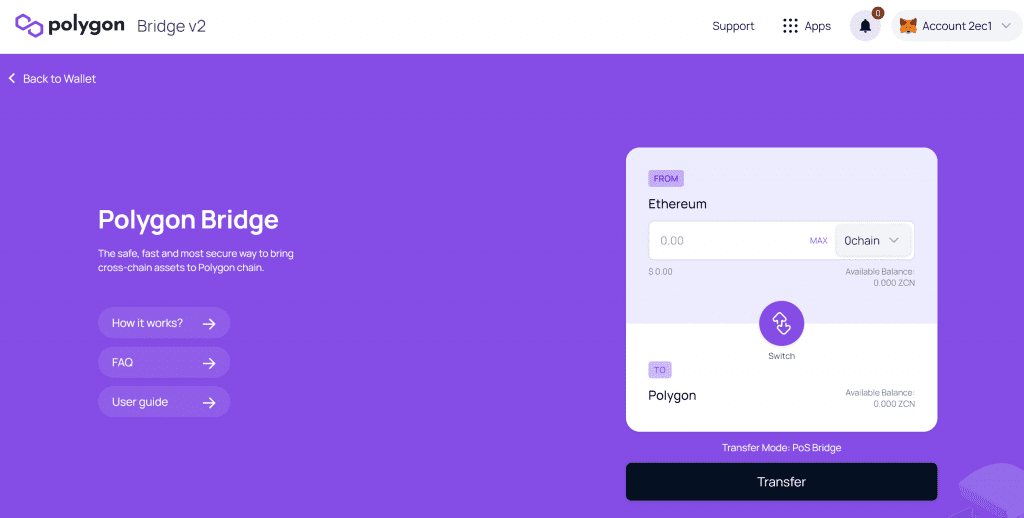
Once you have entered the amount you want to transfer, hit the transfer button, it will prompt you with a message saying you are moving tokens from Ethereum to the Polygon network. This usually takes around 10 minutes. Continue with the prompts from MetaMask it will also inform you of the gas fee. If you’re happy to proceed, hit confirm and approve the transaction.
When the transaction is completed your Matic tokens will be in your MetaMask wallet under the Polygon Network.